ToolMotion Workshop Setup Guide
Clear Zones
Separate inspection, repair, lifting, and storage work
Fast Access
Keep frequently used tools within the primary reach area
Safer Flow
Protect walkways, lifting points, cables, and work surfaces
Build a Better Workshop.
Create a clean, efficient automotive workspace around the jobs you perform most often. This guide brings together layout planning, diagnostic access, hand-tool organization, lifting space, storage, lighting, power, air, and safer working practices.
Support is available around the clock for order and product questions.
ToolMotion provides free shipping across the complete product range.
Standard orders are typically delivered within three to five business days.
Eligible products are supported by free returns and exchanges within 30 days.
Planning Framework
Stage 01
Plan Around Real Work.
A productive workshop begins with the tasks, vehicles, and tools that will move through it. Map the work first, then assign every bench, cabinet, testing station, lifting point, and utility connection a deliberate position.
Four Planning Decisions
Measure Before You Move.
Record the usable floor area, ceiling height, door clearance, power locations, lighting coverage, ventilation, and vehicle movement before purchasing large equipment.
01
Define the service profile.
List the work you expect to perform, from diagnostics and electrical testing to engine service, lifting, tire work, and general maintenance.
02
Map vehicle movement.
Mark entry, parking, door opening, jack placement, engine access, and safe walking space around the vehicle.
03
Locate fixed utilities.
Identify suitable electrical service, ventilation, lighting, drainage, air connections, and protected cable routes.
04
Assign storage by frequency.
Keep daily-use tools closest to the primary bay and move seasonal, oversized, or low-use equipment to secondary storage.
Workshop Architecture
Stage 02
Create Four Working Zones.
Clear zones reduce unnecessary movement, protect sensitive equipment, and make it easier to return every tool to a defined location.
Diagnostic Station
Reserve a clean, powered surface for OBD2 scanners, code readers, battery testers, circuit testers, service information, and charging equipment.
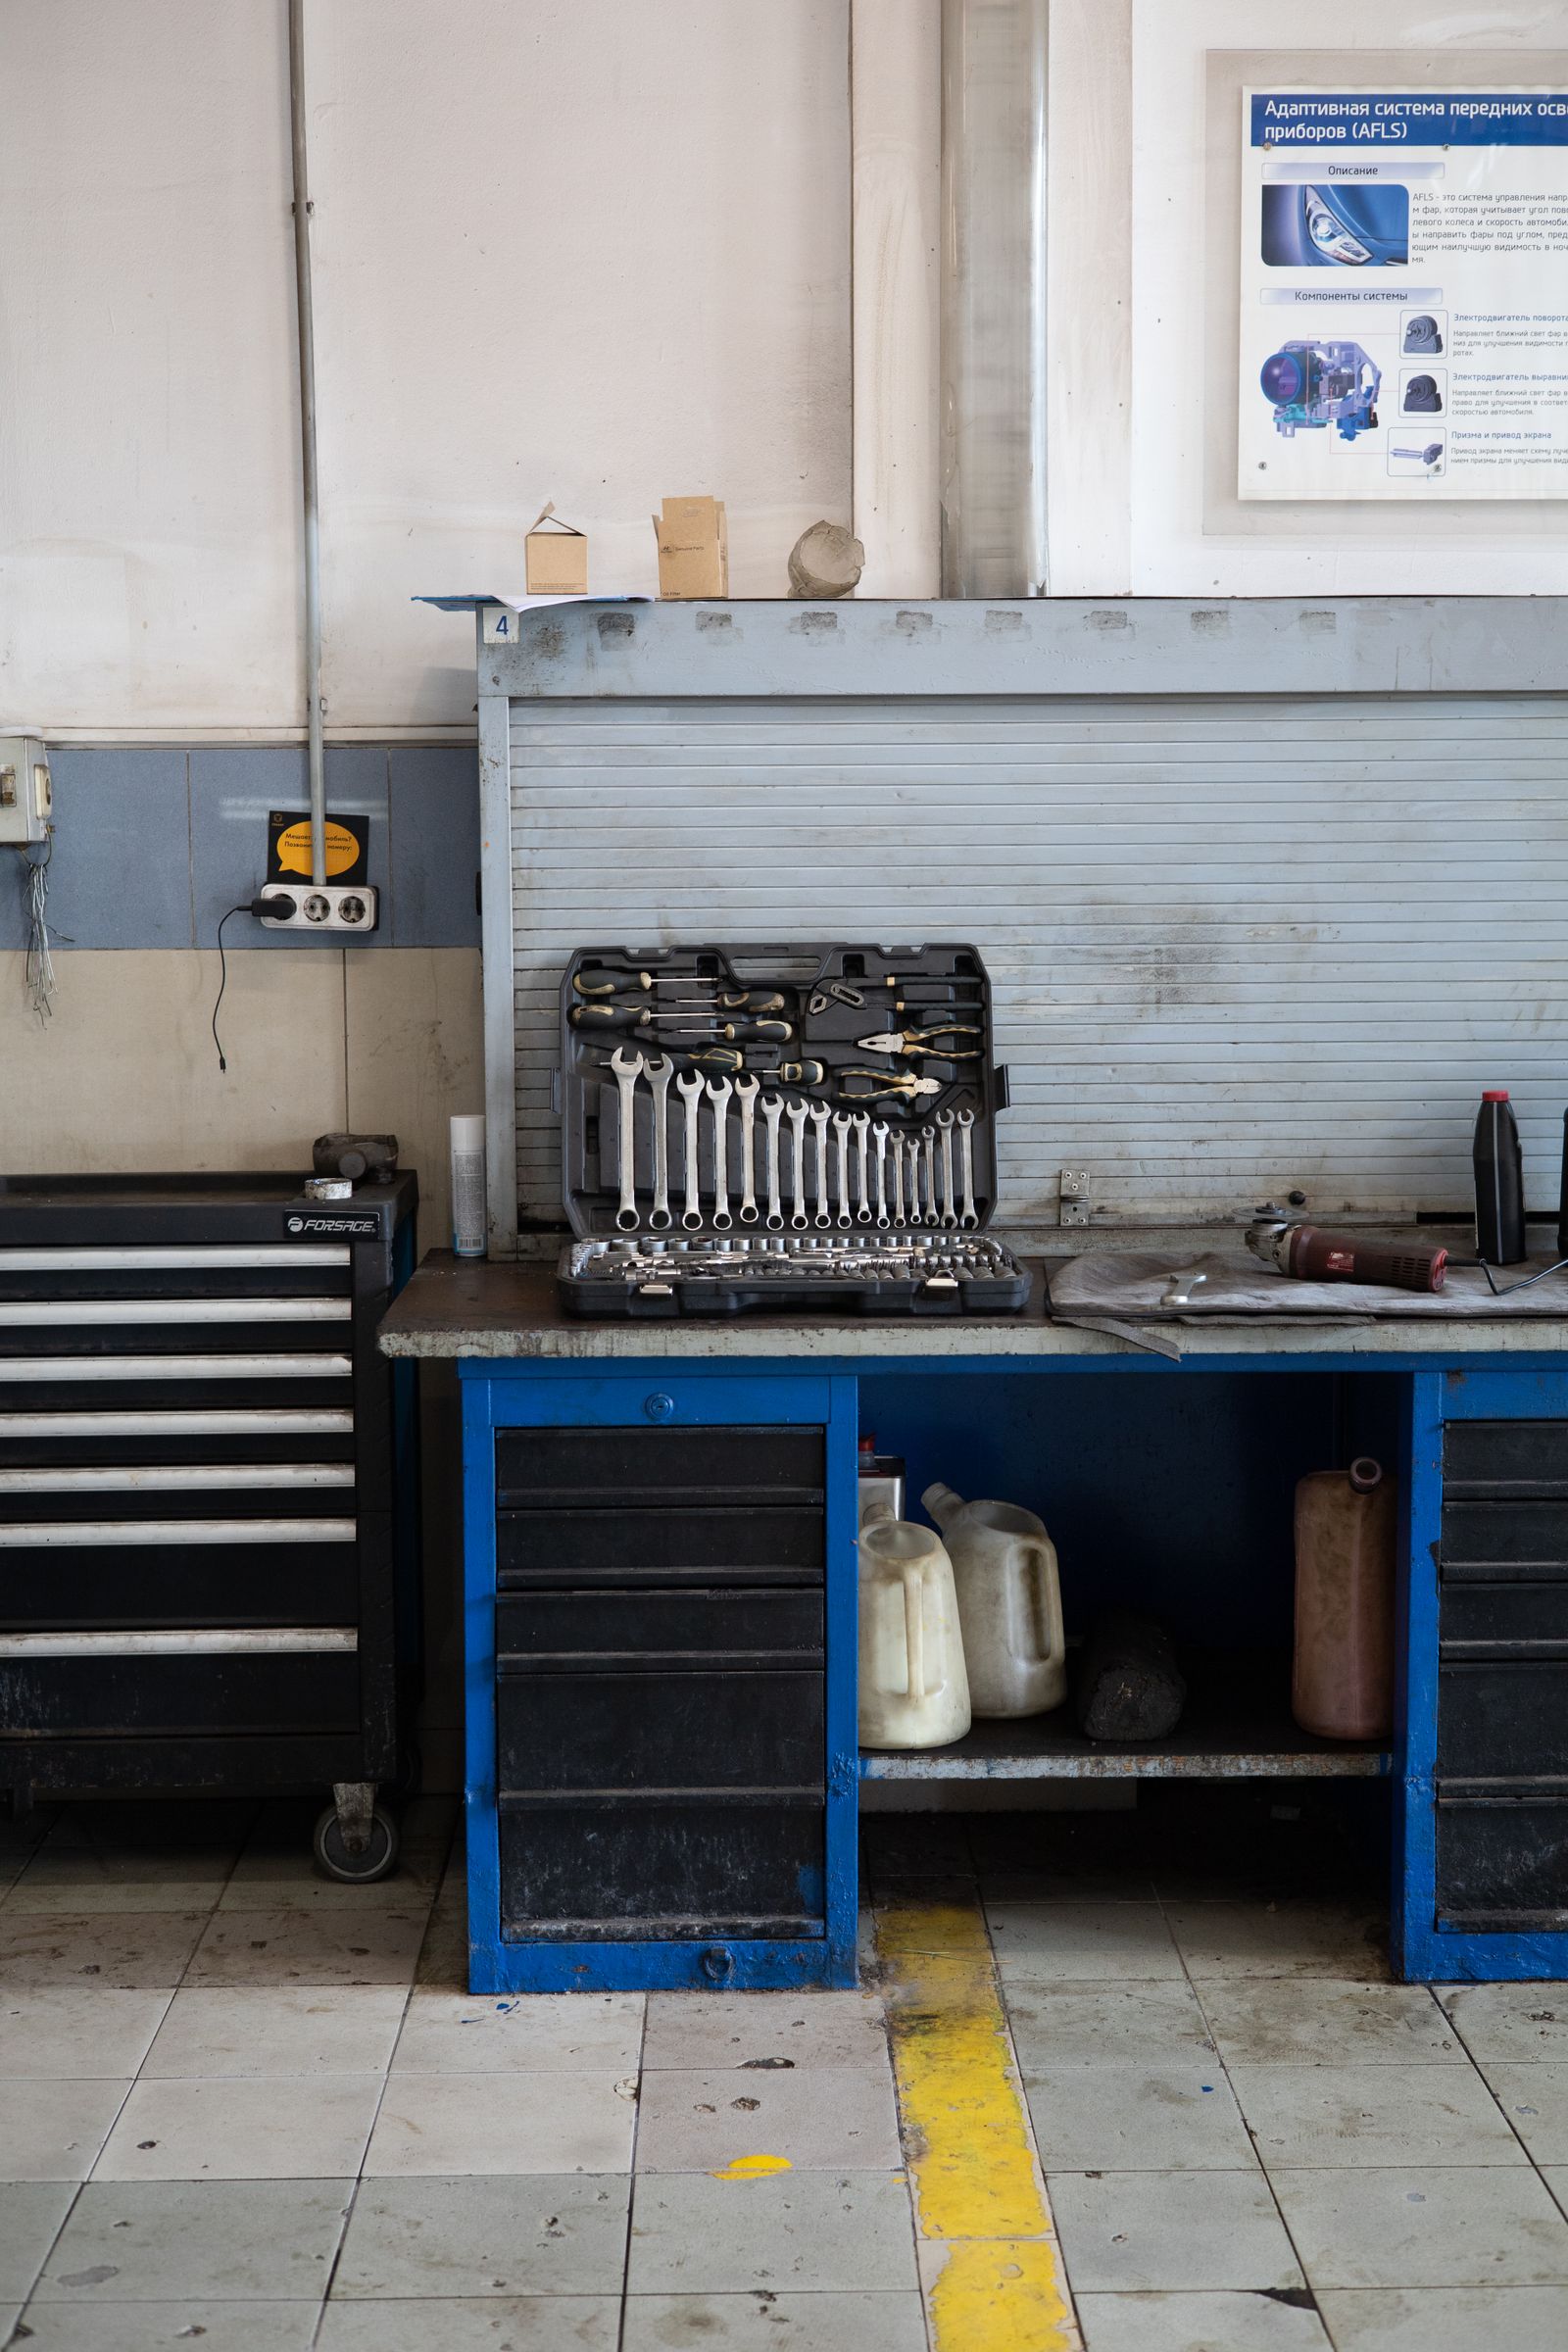
Primary Workbench
Position torque wrenches, sockets, ratchets, screwdrivers, pliers, pry bars, and frequently used service tools within easy reach.
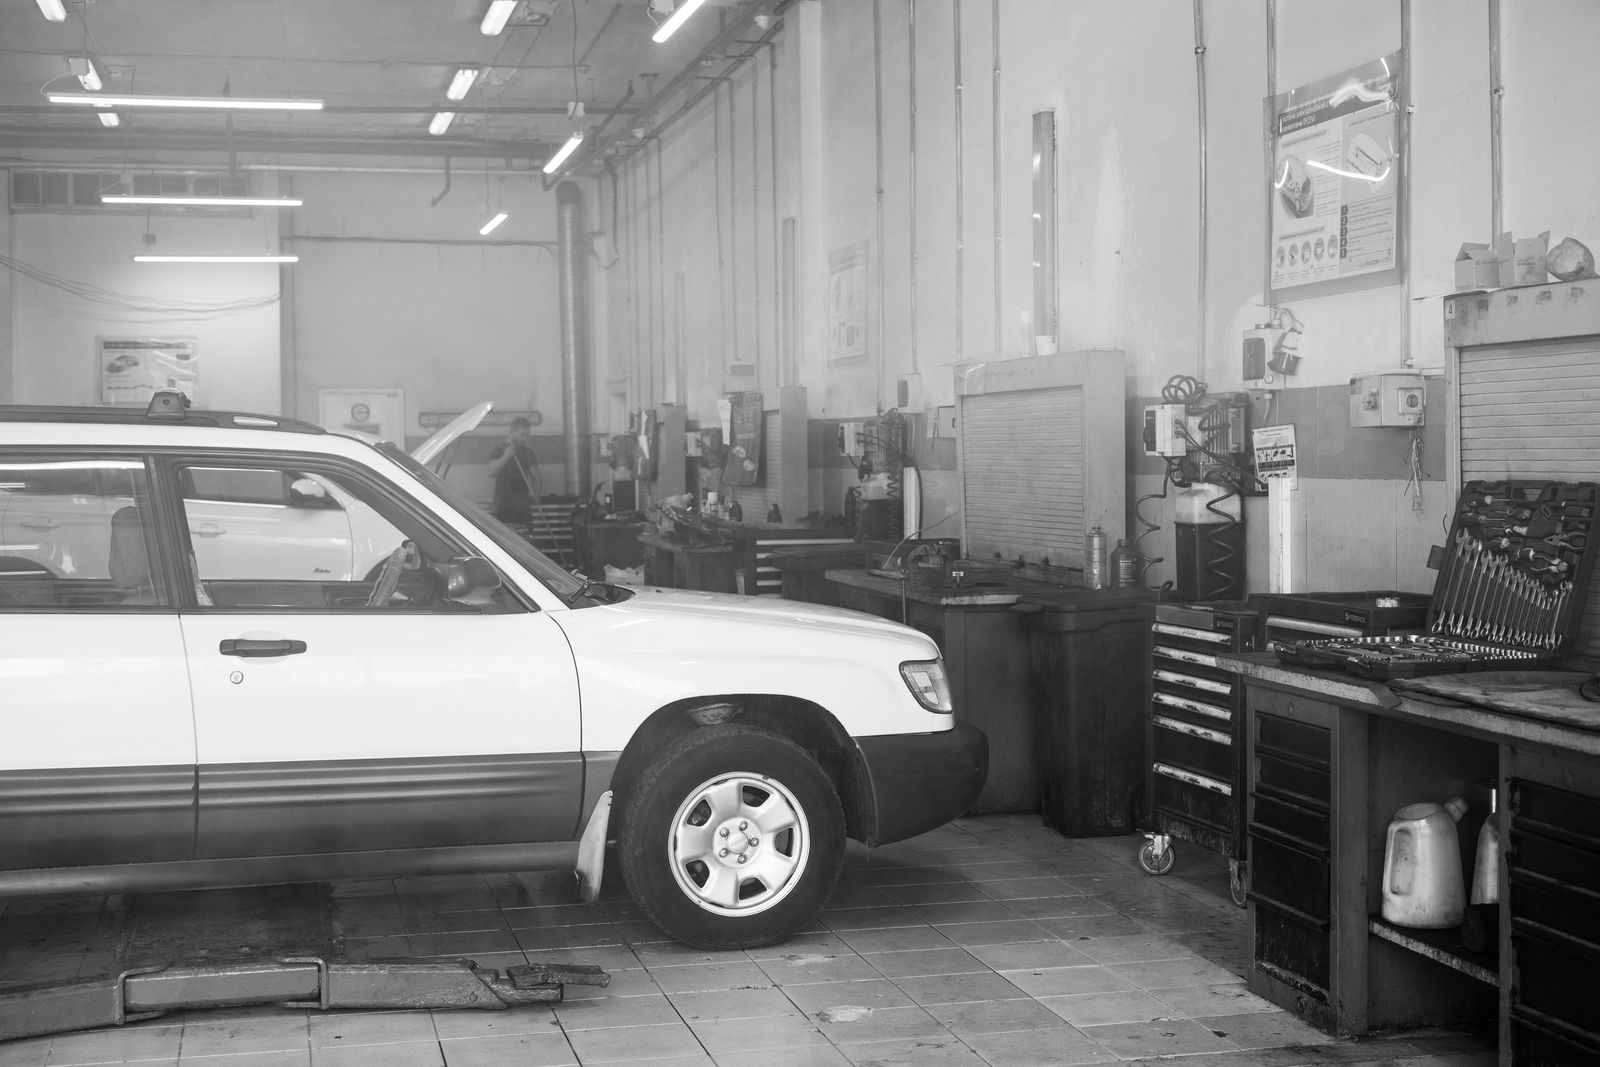
Lifting Area
Maintain level, unobstructed floor space for hydraulic jacks, rated jack stands, creepers, workshop seats, and lifting accessories.
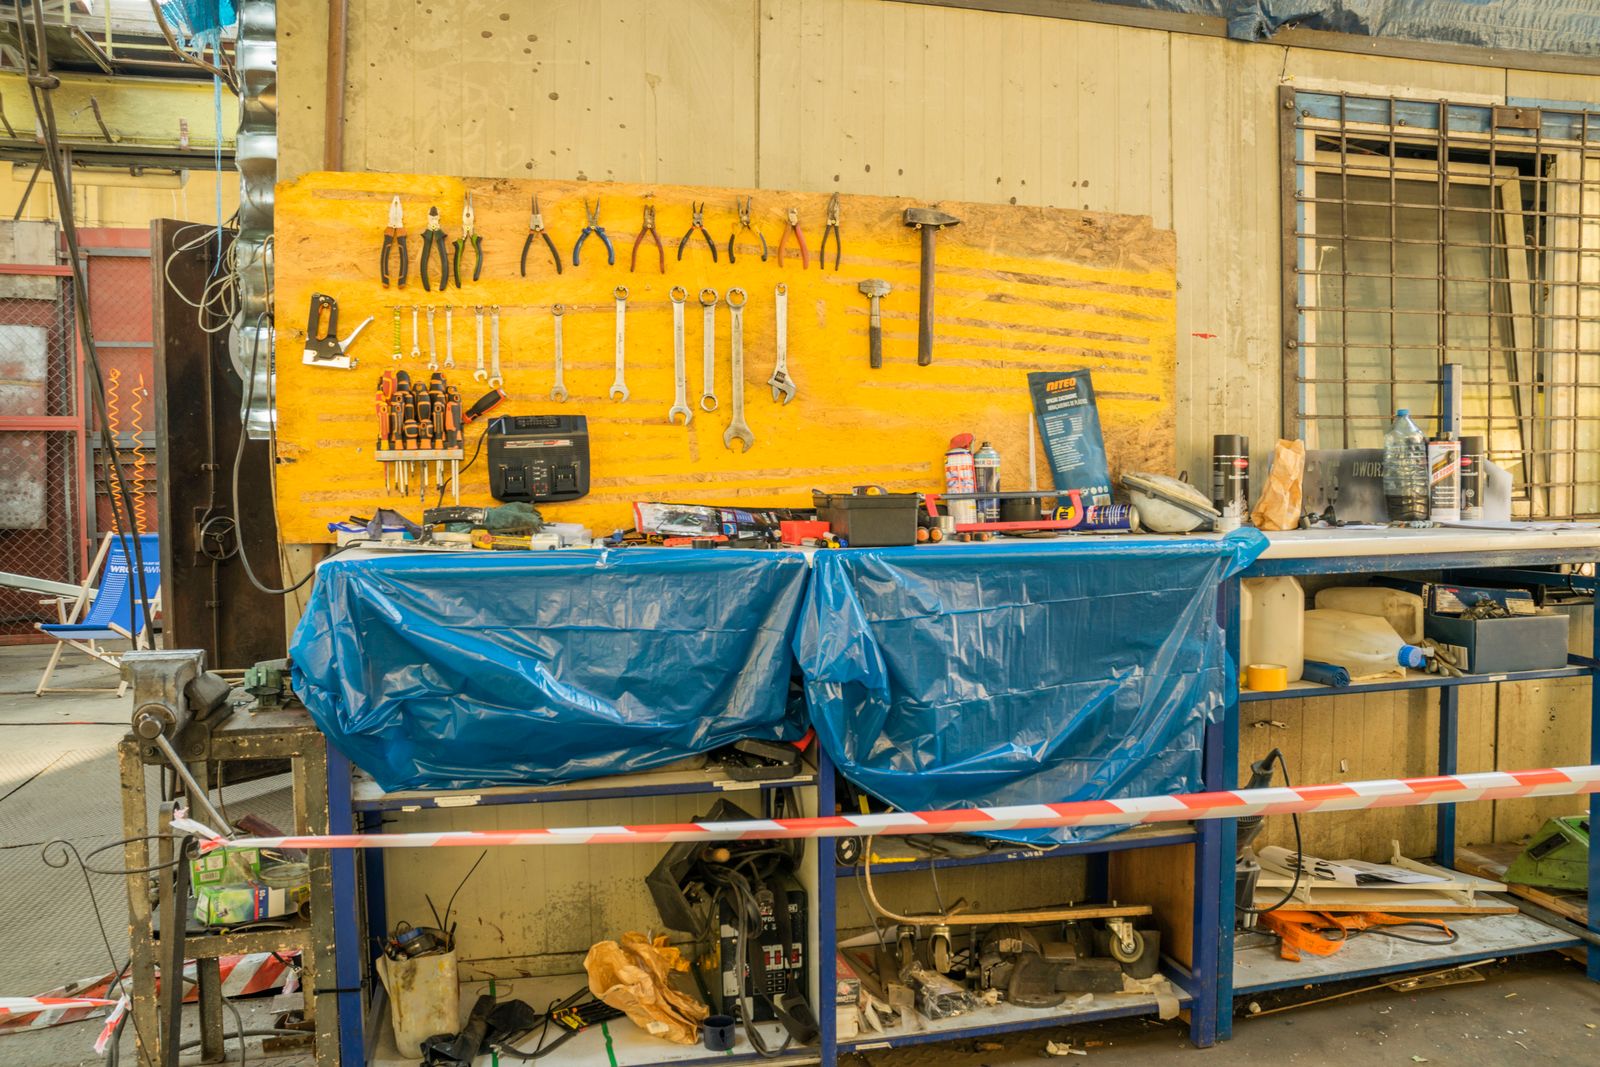
Storage Wall
Combine lockable cabinets, labeled drawers, pegboard storage, mobile carts, and dedicated locations for oversized workshop equipment.
Workshop Systems
Stage 03
Build in Practical Layers.
Establish the core work surfaces first, then add diagnostic access, storage, lifting support, power, lighting, and compressed air in a sequence that protects the overall workflow.
Layer 01 · Bench and Storage
Give Every Tool a Home.
Build the primary bench around the tools used most frequently. Keep the central surface open for active work and move storage vertically or into drawers rather than allowing permanent clutter to spread across the bench.
01
Primary reach area
Store sockets, ratchets, screwdrivers, pliers, and common wrenches between waist and shoulder height.
02
Protected calibration storage
Keep torque wrenches and measurement tools clean, dry, unloaded, and stored according to manufacturer guidance.
03
Fast visual checks
Use labeled drawers, foam organization, or outlined locations so missing tools are immediately visible.

Layer 02 · Diagnostics
Keep Testing Clean.
Diagnostic equipment performs best in a protected area away from oil, grinding debris, heavy impact, and unstable surfaces. Build a dedicated station with power access, clear labeling, and enough room to review test results.
01
Scanner and code-reader access
Keep OBD2 diagnostic scanners and engine code readers charged, updated, protected, and ready for vehicle connection.
02
Electrical testing separation
Store battery testers and circuit testers with leads organized to prevent damage, tangles, or accidental contact.
03
Mechanical test kits
Keep compression testers and fuel system testers complete, clean, labeled, and stored with their correct adapters.
Layer 03 · Service Bay
Protect the Floor Zone.
The lifting and under-vehicle area should remain the clearest part of the workshop. Remove loose parts, containers, cables, and unused tools before positioning any vehicle or lifting equipment.
01
Level lifting surface
Use hydraulic jacks and rated jack stands only on a stable, level surface and follow vehicle and equipment instructions.
02
Clear movement path
Maintain space for safe access, creeper movement, emergency exit, and repositioning around the vehicle.
03
Controlled equipment parking
Return jacks, stands, seats, hoists, and mobile equipment to marked storage positions after use.

Tool System
ToolMotion Categories
Organize by Function.
Grouping tools by purpose makes selection faster, reduces duplicate purchases, and simplifies inspection after every job.
01
Diagnostic and Testing
Inspect · Verify · Measure- OBD2 Diagnostic Scanners
- Engine Code Readers
- Battery Testers
- Circuit Testers
- Compression Testers
- Fuel System Testers
Store electronic equipment in a dry, impact-protected cabinet with organized leads, adapters, charging cables, and product instructions.
02
Hand Tools
Remove · Adjust · Assemble- Torque Wrenches
- Socket and Ratchet Sets
- Wrenches and Spanners
- Screwdrivers and Bit Sets
- Pliers and Gripping Tools
- Pry Bars and Hammers
Arrange hand tools by size and type. Keep high-use tools near the workbench and return every item immediately after inspection and cleaning.
03
Workshop Equipment
Lift · Support · Move- Hydraulic Jacks
- Jack Stands
- Engine Hoists
- Air Compressors
- Creepers and Workshop Seats
- Tool Storage Cabinets
Confirm rated capacities, operating condition, placement requirements, and manufacturer instructions before using lifting or powered equipment.
Safety and Access
Stage 04
Design for Clear Decisions.
A safer workshop makes hazards visible, keeps emergency access open, and prevents cables, fluids, tools, and equipment from entering active walking or lifting areas.
Core Safety Rules
01
02
03
04
Keep Risk Visible.
Follow all vehicle and equipment instructions. Complex electrical, lifting, fuel-system, and compressed-air work should be completed only with appropriate knowledge, supervision, and protective equipment.
Protect walkways.
Keep cables, hoses, parts, packaging, and tools away from doors, stairs, and vehicle access paths.
Control fluids.
Use suitable containers, clean spills promptly, and store automotive fluids according to product and local requirements.
Inspect equipment.
Check jacks, stands, hoists, pressure hoses, cords, testers, and hand tools before each use.
Maintain ventilation.
Do not operate engines or use products that release harmful fumes in an enclosed, poorly ventilated area.

Setup Audit
Ready to Work
Final Workshop Checklist.
Review the complete space before bringing in a vehicle or beginning work. Revisit this checklist whenever equipment, storage, or service routines change.
01 Layout
- Vehicle entry, parking, and exit paths are unobstructed.
- Doors can open without contacting benches or cabinets.
- Primary walking routes remain clear from floor-level hazards.
- The lifting area is level, clean, and easy to inspect.
02 Work Surfaces
- The primary bench has adequate lighting and usable open space.
- A clean diagnostic surface is separated from heavy mechanical work.
- Bench-mounted equipment is secured according to its instructions.
- Small parts have trays, bins, or labeled containers.
03 Tools
- Daily-use hand tools are organized within comfortable reach.
- Testing leads, adapters, and cables are complete and protected.
- Torque and measurement tools are stored correctly.
- Damaged, incomplete, or unreliable tools are removed from service.
04 Utilities
- Lighting covers the bench, engine bay, floor, and storage areas.
- Electrical cords and air hoses do not cross primary walkways.
- Ventilation is appropriate for the work being performed.
- Power and compressed-air equipment follows manufacturer guidance.
Setup FAQ.
Use these answers as a practical starting point when planning, organizing, or improving an automotive workshop.
What should I plan first?
Begin with the vehicles and jobs the workshop must support. Measure the usable space, map vehicle movement, mark fixed utilities, and identify the minimum clear area required around the primary service bay.
Where should the main workbench go?
Place the main bench close enough to the service bay for fast access but far enough away to preserve safe vehicle movement, door clearance, and lifting space. Good lighting and nearby storage are essential.
How should diagnostic tools be stored?
Keep scanners, code readers, battery testers, circuit testers, and related accessories in a clean, dry, impact-protected location. Organize cables and adapters so the complete kit is easy to verify.
How much clearance should I leave around a vehicle?
Clearance depends on the vehicle, building, equipment, and planned work. Leave enough room for doors, engine access, tool carts, safe walking, lifting equipment, and emergency exit without forcing people into narrow spaces.
Should storage be fixed or mobile?
Use fixed cabinets for stable long-term storage and mobile carts for selected tools that must move between the bench and vehicle. Mobile equipment should have reliable wheels, brakes, and a defined parking position.
What belongs closest to the service bay?
Keep frequently used sockets, ratchets, wrenches, screwdrivers, pliers, torque tools, inspection lighting, diagnostic equipment, and commonly needed consumables close to the active work area.
How often should the workshop layout be reviewed?
Review the layout whenever work routines, vehicles, equipment, storage capacity, or safety requirements change. A regular inspection also helps identify clutter, damaged equipment, and inefficient tool locations.
ToolMotion Support
Equip the Space with Confidence.
Explore ToolMotion solutions for diagnostics, testing, hand-tool organization, vehicle lifting, compressed air, workshop seating, and storage. For product or order assistance, send the details through our contact page.
